Ultrasonic Clean: A Dolfi Story | Chapter Two: Combining Design with Technology
After finalizing the unique and elegant design for the Dolfi device, it was time to pair it with the advanced technology that would live inside and create a working prototype. This was the moment every company that creates an innovative product eagerly awaits. The process, however, wasn’t without its ups and downs.
Combining our new casing design with the engineering prototype brought forth unexpected issues that were predictable, but difficult to identify at that time.
The functional testing with our shiny new 3D printed casings kept failing time after time. Attempting to discover the reason for this failure, we made more prototypes with 3D printed plastic and ran multiple tests. We could not understand the reason why and started to doubt the reliability of our ultrasonic system, but the engineering prototypes housed in generic plastic boxes still worked well. We even considered that the casing's unique shape might be causing the problems and that our amazing Dolfi design might not be suitable at all for optimal performance. It was a tough time of setbacks and doubts.
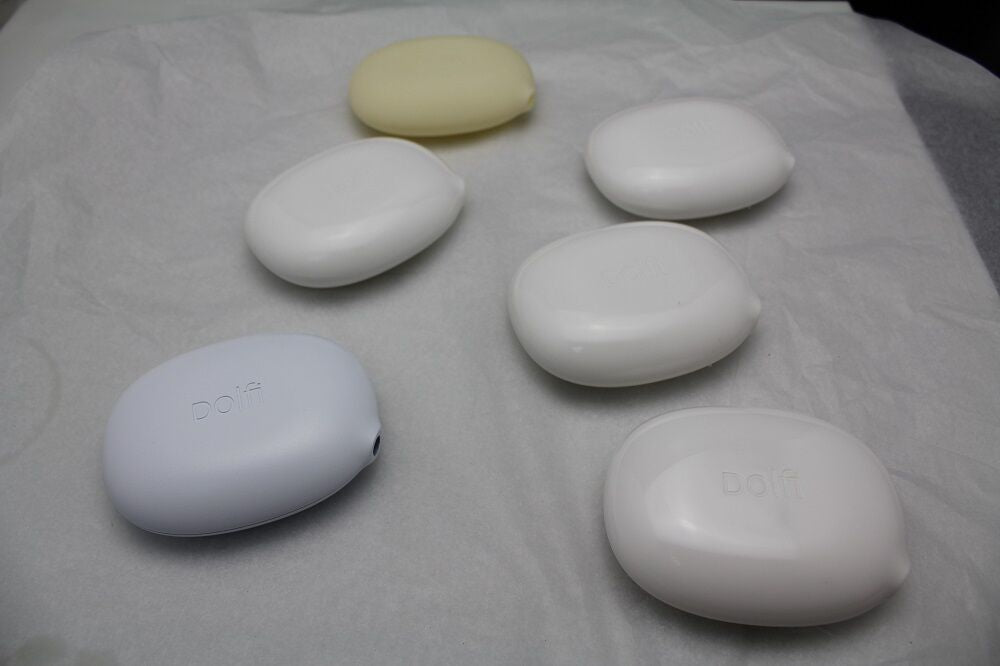
Some of our 3D printed casings looked almost identical to plastic pieces from mass production.

Changing their approach, our engineers decided to test the acoustic properties of our beautiful 3D printed casings and determined that even though they looked very much like injection molded plastics from mass production, they had completely different acoustic properties due to the different production techniques. Enough so that they ultimately caused the ultrasonic system to fail. So much for the fast way.
Technology had come a long way over the last few years. Back in 2014, 3D printing was advanced enough to allow us to quickly and relatively cheaply produce good looking prototypes, but once we discovered that the material’s properties were causing the problem, we had to change our prototyping technique. The next best option for producing a sample was by CNC machining our casing out of plastic blocks, pretty much like a sculptor carves from stone, only done by a precise machine. It took us a while to find blocks of the right plastic for our casings. The options for readily available plastic materials were quite limited, and our application demanded material with particular parameters for factors such as acoustic properties and temperature resistance.

CNC machined casings made from various materials.
Finally, after several long weeks, we got the new casings to the lab. This time the tech worked fine which was great news! We overcame a major hurdle but, as it mostly happens during the development process, you solve one problem, and another one is already waiting for you. We discovered that the casing’s size on the functional surface was just a few millimeters smaller than was needed.

We didn't perceive the little resizing as a big challenge and asked Andre, our designer, to scale up the casing a bit. However, it appeared that scaling was not as easy for physical objects as it might be for 2D pictures on a screen. “We needed to flatten an area on top of the device slightly,” explained Andre, “but that interfered with the overall smoothness of our design. Adjustments were required all around so as not to ruin the look and feel of the entire object. At this point, it was not so much designing anymore as it was crafting the finer details. It was a fight for every millimeter." With him, we were engineering the functionality through the eyes of a craftsman.
Finally, with a functional prototype in our hands, we were excited to share our creation with the world.

To be continued in Chapter Three: Crowdfunding
Previously, Chapter One: Design

